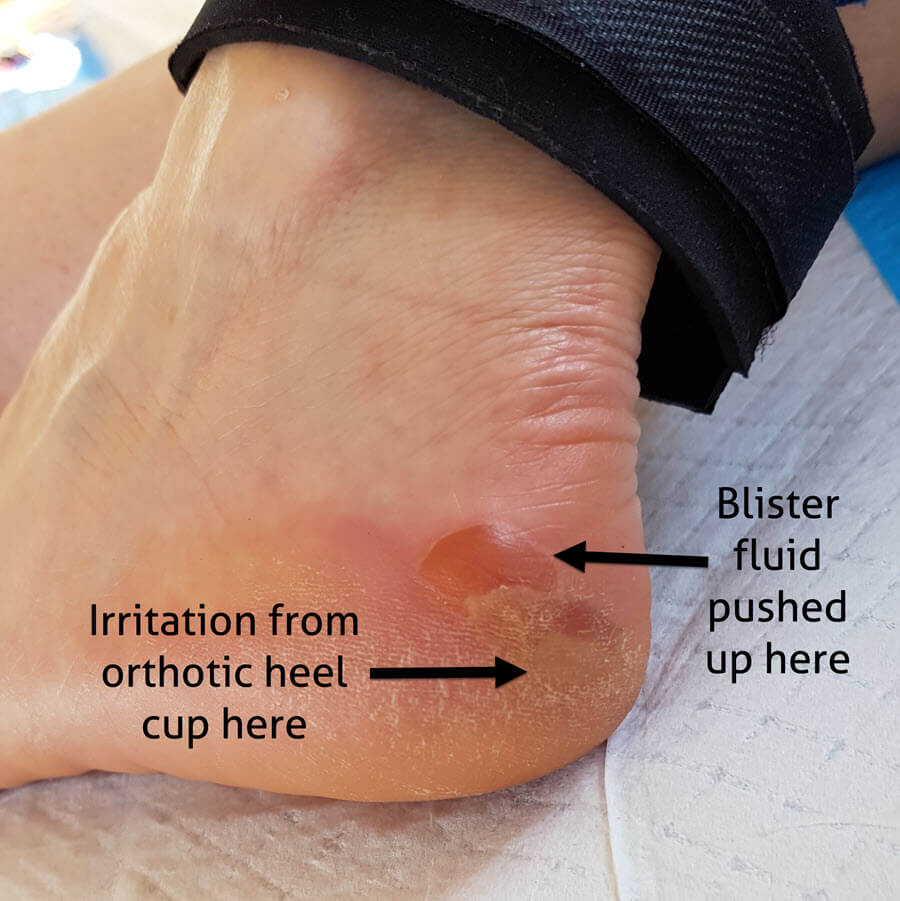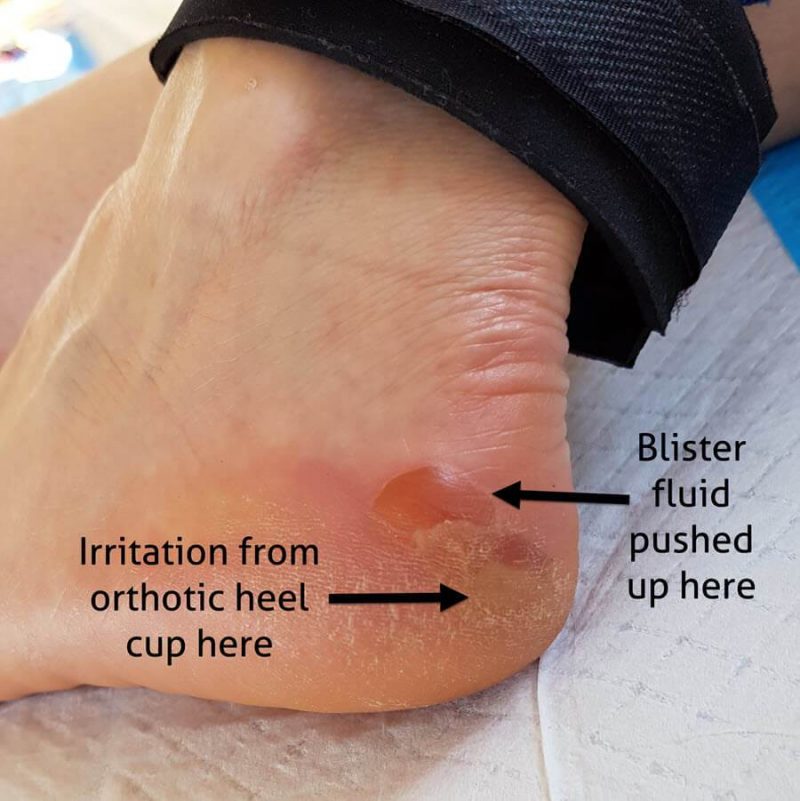
Irritation occurs at the heel rim and pressure pushes the blister fluid upwards.
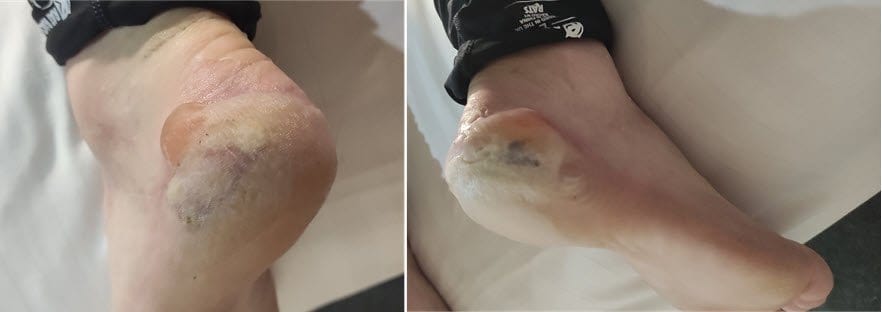
Here are some more examples (apologies if you're squeamish)! Click on an image to enlarge it.
Note: There are 2 other types of heel blisters: back-of-heel blisters and blisters under the heel.
4 Strategies To Prevent Heel Edge Blisters
In order of effectiveness:
- Reduce pressure from the heel cup of your insole or orthotic
- Reduce friction levels at the heel cup as it transitions into the heel counter of the shoe
- Spread shear load by taping your heel
- Absorb shear distortions so your skin doesn't have to with a good cushioning material
1) Reduce Heel Cup Pressure
1a) From Your Insole
Check these things:
- Your insole’s heel cup may be creased, buckled, folded, rough or protrude in some way. Replace it with a new one if you need to.
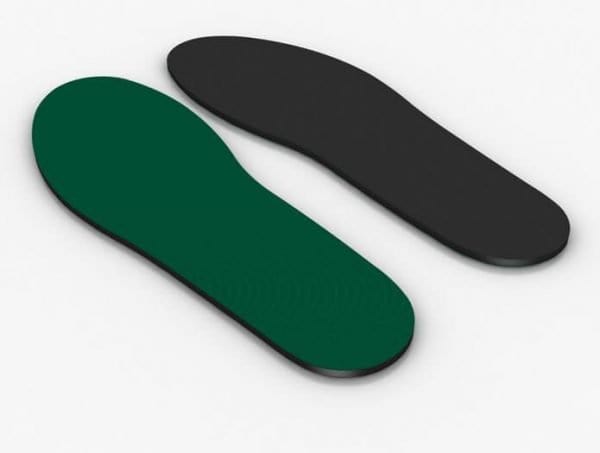
- Some insoles are more contoured around the heel than others. These contours can cause edge blisters if they don't match the contour of your heel. In this case, trim the lip off with scissors, or replace the insole with a completely flat insole. A podiatrist should be able to provide a flat Spenco (neoprene) insole, or you can get them from our online blister store here. Neoprene is a material that has been shown to reduce blister and callous formation.
Below are heel edge blister that resulted within 30 miles of an event called The Wall, because a heel cushion/lift caused extra pressure on the heel edge. Ouch!
1b) From Your Orthotic
- Another cause of heel edge blisters is a thick or misshapen heel cup. This will create a concentration of pressure. Your podiatrist will be able to adjust this by either heat moulding or grinding it (pictured below).

A podiatrist can grind the inside of the heel cup to make it less of an irritation; and the outside of the heel cup to make it thinner.
If your orthotic has slipped forward, you’ll be standing on the heel cup, with blisters (or at least callouses) a certainty. Apply some double sided tape under the orthotic and fix it so it’s sitting correctly at the back of your shoe. This may not work if your orthotic has made an impression into the shoe - you might not be able to fix it all the way back and make it stay there. But it's worth a shot.
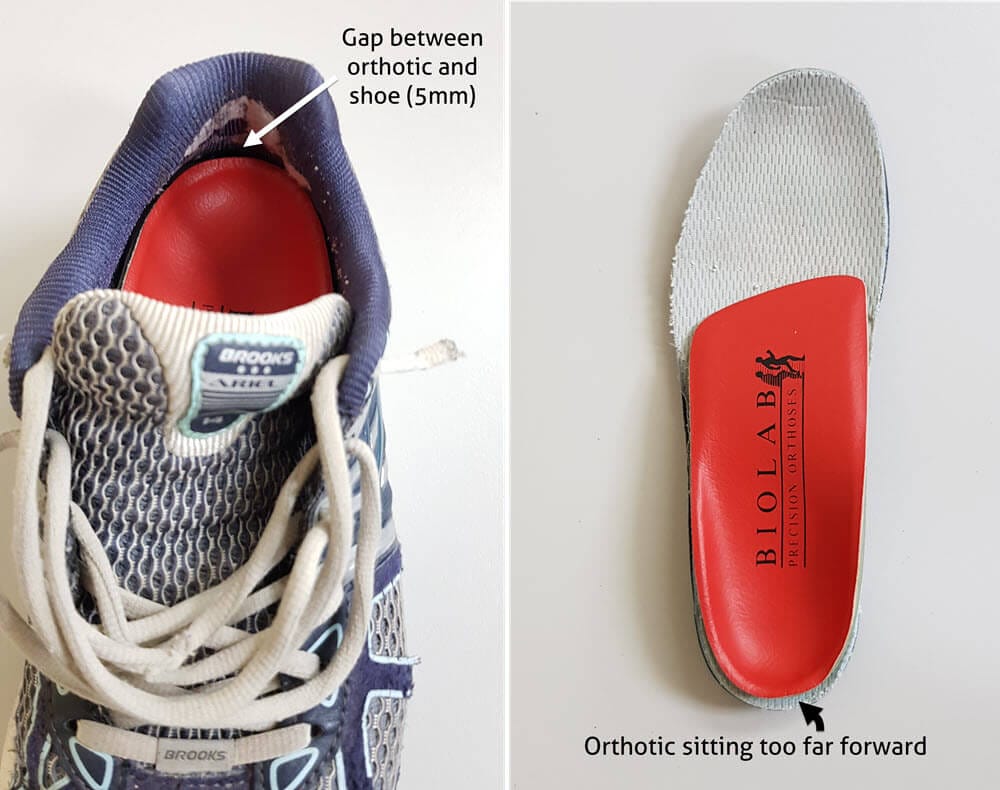
There's a gap between the orthotic heel cup and the shoe. You'll effectively be standing on the heel cup!
2) Make A Low-Friction Junction
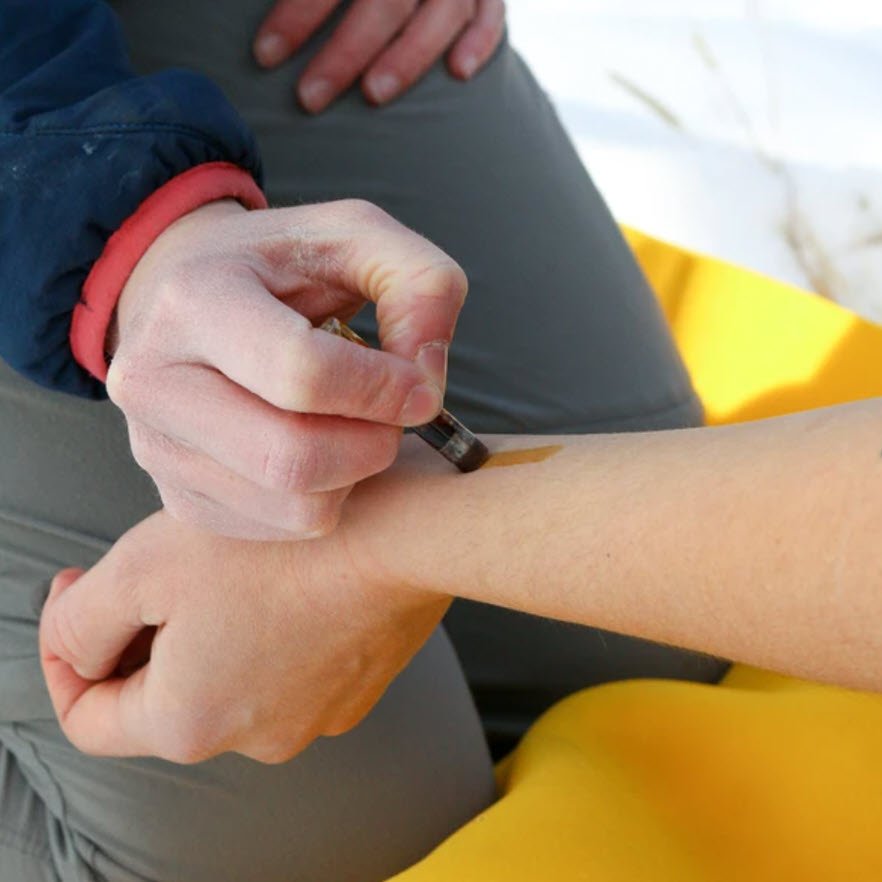
With the heel cup of your insole or orthotic sorted out, if you’re still getting edge blisters, you’ll need to manage friction with ENGO Patches. This will create a low-friction junction between the shoe and the heel cup. Cover each surface with a separate oval patch using the Two Patch Technique: one patch goes on the shoe, the other on the insole or orthotic (pictured below).
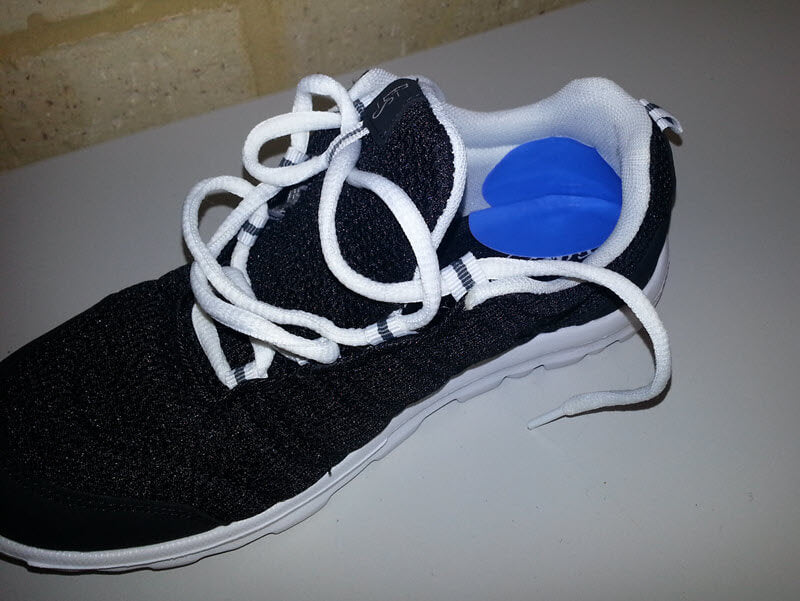
A smooth junction is created by using the Two Patch Technique with two large oval ENGO Patches
Watch this video demonstration of the ENGO Two-Patch Technique for preventing heel edge blisters.
Here's what you'll need
You'll need the ENGO Oval Patches from either the 4-Pack or 6-Pack. You can use the large ovals on the shoe surface, and either the large or small oval patches on your insole/orthotic.
3) Taping
As a last resort, in addition to the previous strategies, reduce focal shear distortions by taping your heel with a rigid sports tape. A rigid tape works better than a flexible one. I like to use Fixomull Stretch first, then the rigid tape, then another layer of Fixomull. Watch the video for a demo.
4) Cushioning
If you need even more protection, after you've taped your heel, tape a thin cushioned material over your blister-prone heel edge. Something like poron (PPT) 3mm maximum. This is going to take some experimentation to make sure it's comfortable. If an edge of your pad is under your heel, this edge may become uncomfortable. Bevel the edges to minimise discomfort.
Wrapping up
Heel edge blisters absolutely require that you reduce any undue pressure from your insole or orthotic heel cup, if it exists. If that's insufficient, reduce friction levels with the ENGO Two-Patch technique. And if you're especially unlucky and you need even more protection than that, add taping and cushioning.Get Started With ENGO Patches
